springboot添加actuator

springboot如何添加actuator

一、正常添加

首先你需要引入相关jar包

1
2
3
dependencies {
compile('org.springframework.boot:spring-boot-starter-actuator')
}

接下来需要在yml添加如下配置,大致意思就是开放节点检查并且暴露出所有的endpoint以http的方式

1
2
3
4
5
6
7
8
management:
endpoint:
health:
show-details: always
endpoints:
web:
exposure:
include: "*"

其实到这一步就完成了配置了,你就可以在浏览器通过http:\ip:port\actuator进行访问了,但是这个东东还是个挺隐私的东西,我们不能让任何人通过url就能进行访问和操作,所以需要你对这个东西进行权限验证,
这里我们使用springsecurity,添加如下代码:

1
2
3
4
5
6
7
8
9
10
@Configuration
@EnableWebSecurity
public class WebSecurityConfig extends WebSecurityConfigurerAdapter {
@Override
protected void configure(HttpSecurity http) throws Exception {
http.formLogin().and().authorizeRequests()
.antMatchers("/actuator/*").authenticated()
.and().csrf().disable();
}
}

有没有发现我们配置了地址授权,但是我们要输入什么授权信息了?所以你还需要在yml中添加如下代码

1
2
3
4
5
6
spring:
security:
user:
roles: ACTUATOR_ADMIN
name: actuator
password: AA@4321,

到这里我们就真正完成了actuator的添加,我们来测试一下,但我访问:
http:\ip:port\actuator\info时,浏览器直接就跳转了:
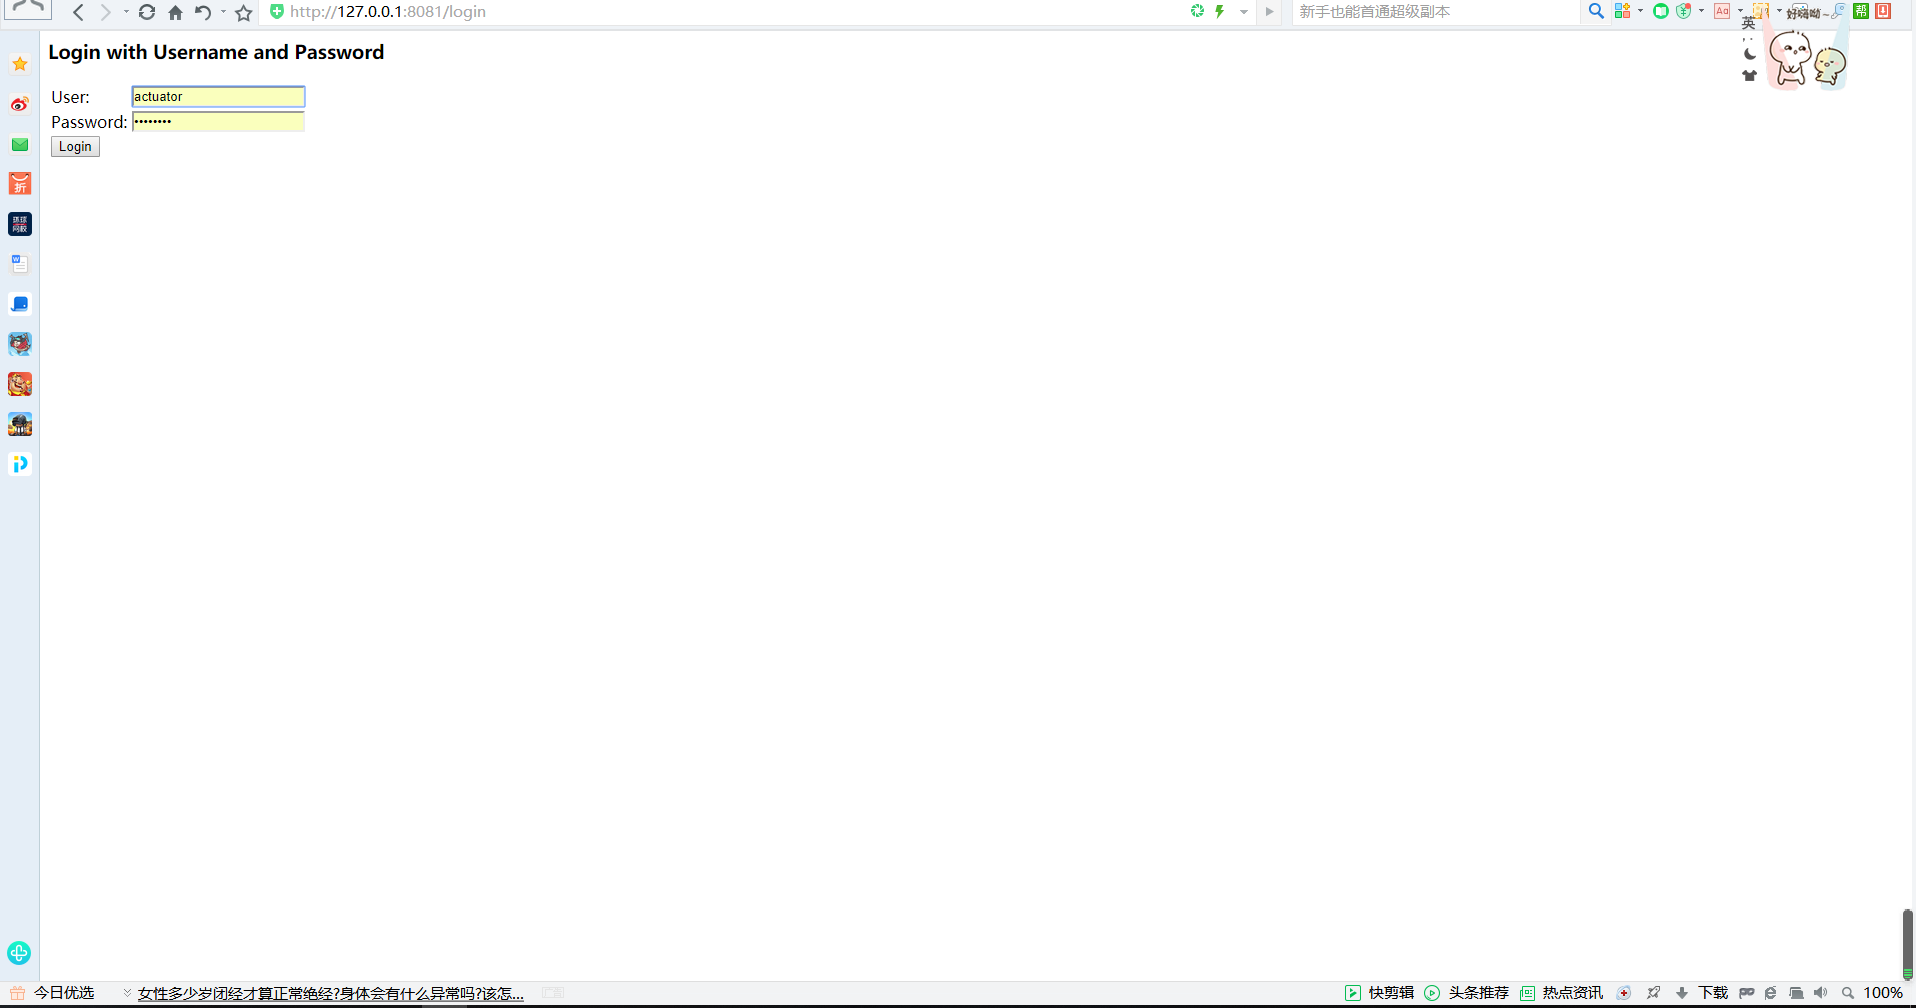
图p1

**图p1**
当然这是一种简单的情况,应用本来就没有做任何的权限或加密动作,添加起来也是很简单,下面就说一种小猴我项目中遇到的特殊情况

二、不正常情况添加

其实我说的这种不正常添加就是原本的项目你就已经添加了security,并且使用了加密检测。

1
2
3
4
@Bean
public BCryptPasswordEncoder bcryptPasswordEncoder(){
return new BCryptPasswordEncoder();
}

现在我们就用上述的方式启动项目然后访问http:\ip:port\actuator\info看看是什么情况,没错你会发现正常会跳转到授权页面
图p2

**图p2**
但是你只要输入密码, 就会像下图一样显示这样的报错信息: 同时, 我们在控制台也能看到如下的警告: ![图p4](20191125-springboot-actuator/4.jpg)
**图p4**
很明显所有的问题都出在这个加密器上面,这时你只需要加入下面一行代码,所有的问题就可以得到解决:
1
2
3
4
5
6
7
8
9
10
11
12
13
14
@Value("${spring.security.user.roles}")
private String roles;
@Value("${spring.security.user.name}")
private String name;
@Value("${spring.security.user.password}")
private String password;

@Override
protected void configure(AuthenticationManagerBuilder auth) throws Exception {
auth.inMemoryAuthentication()
.withUser(name)
.password(new BCryptPasswordEncoder().encode(password))
.roles(roles);
}

这行代码大致意思就是还是在配置文件yml里面配置相关信息,但是这些信息注册到授权时先用这个加密器把密码加密好,然后当你重启后再输入用户密码,就能看到以下页面了
图p5

**图p5**